
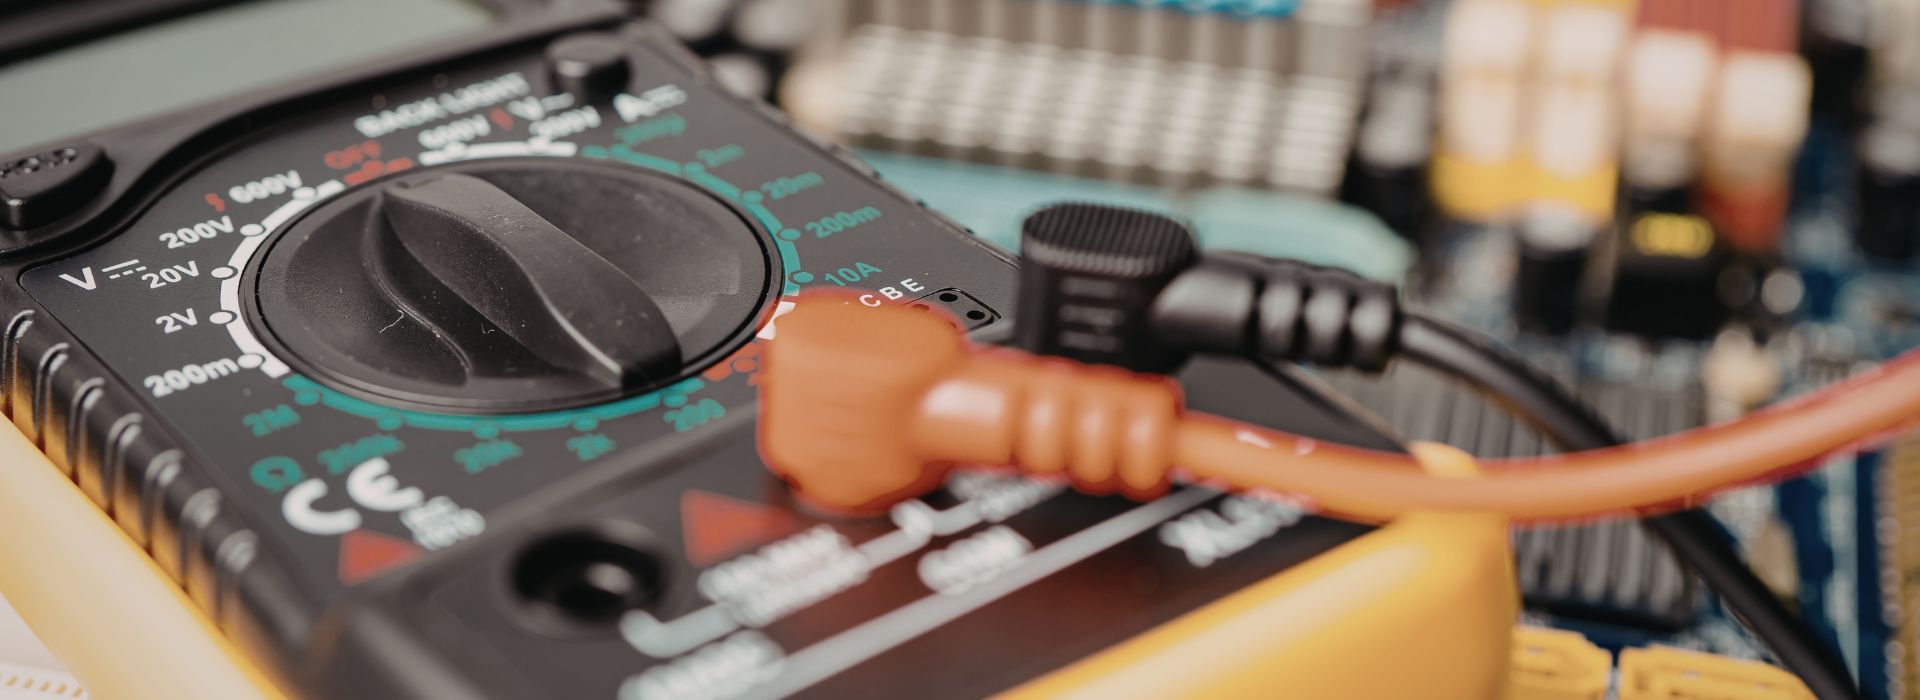
TLDR: Lighting faults on Massey Ferguson tractors often begin with failed bulbs, corroded earths, damaged sockets, worn switches, faulty relays or broken loom sections. A structured testing process helps identify the cause quickly. Suggested replacement parts include LED work lights, switches, relays, trailer sockets, connectors, wiring, fuses and earth straps.
Lighting faults on a Massey Ferguson tractor can range from one failed rear lamp to the complete loss of work lights, road lights or trailer electrics. Although replacing the bulb may sometimes solve the problem, the light unit itself is often not where the fault started.
Water, corrosion, vibration, damaged wiring, poor earth connections, worn switches and deteriorated trailer sockets are frequent causes. A tractor’s electrical system must operate in mud, dust, fertiliser, rain and repeated pressure washing, so exposed connections can gradually develop resistance or fail completely.
When tractor lights are not working, tracing the circuit in a logical order is far more effective than replacing components at random.
Identify Which Lights Have Failed
Begin by checking exactly which lighting functions are affected. Test the:
- Side lights
- Dipped and main-beam headlights
- Front and rear indicators
- Hazard lights
- Brake lights
- Number-plate light
- Beacon
- Front work lights
- Rear work lights
- Trailer lighting socket
One failed lamp usually points towards a bulb, LED unit, connector or local earth. Several lights failing together may indicate a shared fuse, relay, switch, earth point or power supply.
Check the operator manual for the correct fuse and relay locations. Fuse assignments and wiring arrangements differ between Massey Ferguson series and production years. Official Massey Ferguson operator manuals are available through AGCO Technical Publications:
AGCO’s catalogue includes manuals for both older and current Massey Ferguson models, including tractors from the 4200, 6100, 4700 and 5S ranges.
Check the Bulb, LED Unit and Lamp Housing
With a traditional halogen work light or road lamp, remove the bulb and examine the filament, terminals and bulb holder. A filament may fail without appearing obviously broken, so testing with a known-good bulb is often worthwhile.
Look for:
- White or green corrosion
- Loose bulb-holder contacts
- Burnt terminals
- Water inside the housing
- Cracked lenses
- Damaged rubber seals
- Melted plugs
- Loose mounting brackets
A Massey Ferguson rear work light is particularly vulnerable because of its position. It can be struck by branches, affected by implement movement or filled with water during pressure washing.
With Massey Ferguson LED work lights, the LED elements are generally sealed inside the housing. If the correct power and earth are reaching the unit but it still does not illuminate, the complete lamp will normally require replacement.
Suggested replacement parts
Depending on the test results, likely replacements include:
- Halogen work-light bulb
- Headlight bulb
- Indicator bulb
- Stop-and-tail bulb
- Complete rear work-light assembly
- Complete LED work-light unit
- Work-light lens
- Lamp housing
- Bulb holder
- Waterproof lamp connector
- Rubber sealing boot
- Work-light mounting bracket
Choose replacement lamps with the correct voltage, mounting arrangement, electrical connector and beam pattern. Road lights must also be suitable for legal road use; an off-road work light should not be used as a substitute for an approved headlamp.
Inspect the Fuses and Fuse Holders
Do not rely entirely on looking through the plastic fuse body. Remove the relevant fuse and test it with a multimeter or test lamp.
Check whether voltage is present at both sides of the fuse when the lighting circuit is switched on. A fuse can be intact while corrosion or heat damage in the fuse holder prevents current from reaching the circuit.
A fuse that blows immediately after replacement usually indicates a short circuit. Common causes include:
- A wire rubbed through against a cab frame
- A damaged trailer cable
- Water inside a lamp
- Corrosion bridging trailer-socket terminals
- An incorrectly wired replacement light
- A positive wire trapped beneath a bracket
- A damaged loom near the rear linkage
Never install a higher-rated fuse to prevent repeated blowing. The fuse protects the wiring from overheating, and fitting an oversized fuse can lead to serious loom damage.
Suggested replacement parts
Possible replacements include:
- Correctly rated blade fuse
- Ceramic or glass fuse for older models
- Fuse-box terminal
- Fuse holder
- Inline waterproof fuse holder
- Fuse-box cover
- Damaged lighting-circuit wire
- Complete fuse-box assembly where terminals are heavily burnt
Check out our supply of electrical parts here.
Test the Earth Connections
Poor earth connections are among the most common reasons why tractor lights are not working correctly.
A lamp may have voltage at its positive terminal but still fail because current cannot return to the battery through the earth circuit. Typical symptoms include dim lighting, flickering, indicators flashing too quickly or several trailer lights glowing together.
Remove the lamp earth terminal and clean the terminal and mounting surface back to bright metal. Check earth points on the cab frame, chassis, mudguard and rear lamp brackets.
A quick diagnostic method is to connect a temporary jumper wire between the lamp earth and a clean chassis or battery-negative point. If the light returns to normal, the original earth connection is faulty.
Fluke recommends voltage-drop testing while the circuit is operating because resistance in cables and connectors may not appear during a basic unloaded continuity test:
Voltage-drop testing can reveal a restricted connection that prevents a relay, motor or light from working correctly even though some voltage is present.
Suggested replacement parts
Common earth-related replacements include:
- Earth strap
- Battery-to-chassis earth cable
- Cab earth cable
- Ring terminals
- Crimp terminals
- Earth-point bolt and washer
- Replacement lamp connector
- Corroded earth wire
- Heat-shrink tubing
- Electrical contact protection compound
Check out our supply of electrical parts here.
Check the Work-Light Switch
A worn or internally burnt switch can cause intermittent or complete failure of Massey Ferguson work lights.
Check for voltage entering the switch and voltage leaving it when switched on. If voltage enters but does not leave, the switch is probably defective. Also inspect the plug behind the switch for overheated terminals, discolouration or loose connections.
A switch may feel as though it is working mechanically while the internal electrical contacts have worn out.
Suggested replacement parts
Likely switch-related parts include:
- Front work-light switch
- Rear work-light switch
- Headlight switch
- Indicator or combination switch
- Hazard-light switch
- Rocker-switch connector
- Switch wiring plug
- Individual repair terminals
- Switch-panel bulb or LED
View our supply of switches here.
Replacement switches should match the original terminal arrangement and current rating. A visually similar switch may have a different internal connection pattern.
Test the Lighting Relays
Many Massey Ferguson lighting circuits use relays so the dashboard switch does not have to carry the full electrical load of several lamps.
A relay that clicks is not necessarily working properly. The coil may operate while the internal contacts are burnt, corroded or unable to carry sufficient current.
Where two identical relays are fitted, temporarily swapping them may help identify a faulty relay. Only do this when the part number, voltage and terminal layout are the same.
Suggested replacement parts
Relay-related replacements may include:
- Work-light relay
- Headlight relay
- Trailer-light relay
- Indicator flasher relay
- Relay socket
- Relay-base terminals
- Damaged relay-box wiring
- Relay-box cover
- Complete relay holder
Repeated relay failure can indicate excessive current, loose terminals, an incorrectly wired LED conversion or too many additional lamps connected to the original circuit.
Browse our selection of Relays on our online shop.
Trace the Wiring Loom
When the lamp, fuse, earth, switch and relay appear serviceable, inspect the wiring loom in sections.
Concentrate on areas where the loom:
- Flexes between the cab and chassis
- Passes through a bulkhead
- Runs beneath mudguards
- Is held by metal clips
- Travels close to the exhaust
- Enters the roof or cab pillars
- Passes near the pickup hitch
- Runs alongside the rear linkage
- Has been modified for additional lights
A wire can break internally while the outer insulation remains intact. Moving the loom gently while the lights are switched on may reveal an intermittent break.
Fluke’s continuity-testing guidance explains how testing can be used to check wires, switches, fuses and relays for open circuits:
Disconnect the power supply and any sensitive electronic modules before carrying out resistance or continuity tests.
Suggested replacement parts
Loom repairs may require:
- Lighting wiring loom
- Rear lighting sub-loom
- Roof work-light loom
- Trailer-socket loom
- Waterproof plug and socket connectors
- Replacement connector pins
- Automotive cable of the correct size
- Split conduit
- Rubber loom grommets
- Cable clips
- Adhesive-lined heat-shrink tubing
Avoid twisting wires together and covering them with ordinary insulating tape. Use proper crimped or sealed connections suitable for agricultural conditions.
View our selection of Wiring Looms on our online shop.
Examine the Trailer Socket
The trailer socket is one of the most exposed electrical components at the back of a tractor. Water, mud, fertiliser and repeated plug movement can corrode or loosen its terminals.
Open the socket and inspect for:
- Green corrosion
- Bent or spread pins
- Loose terminal screws
- Pulled wires
- Cracked insulation
- Water inside the housing
- Heat damage
- A broken spring-loaded cover
Test each terminal while operating the relevant function. A dedicated trailer-socket tester can make this quicker.
Do not rely entirely on wire colour when replacing a socket. Previous repairs may not follow the original colour arrangement. Confirm each circuit against the appropriate wiring diagram and socket pin layout.
Suggested replacement parts
Common trailer-electrics parts include:
- Seven-pin trailer socket
- Thirteen-pin trailer socket
- Trailer-socket cover
- Socket gasket
- Trailer plug
- Trailer plug cable
- Trailer lighting loom
- Junction box
- Trailer-light relay
- Socket mounting bracket
- Waterproof connectors
- Trailer earth cable
Separate Tractor Faults from Trailer Faults
Connect a known-good trailer or trailer-socket tester to the tractor. If it operates correctly, the fault is probably within the trailer.
On the trailer, inspect the cable near the plug, drawbar, tipping point and hinge areas. These sections are repeatedly bent, pulled or crushed.
A poor trailer earth can cause the brake light, tail light and indicator to interfere with one another. Clean the trailer earth connection before replacing several lamp units.
Suggested trailer parts may include complete rear lamp clusters, LED trailer lamps, marker lights, number-plate lamps, reflectors, bulbs, junction boxes, earth cables and a complete trailer wiring harness.
In Ireland, agricultural tractors and trailers used on public roads must comply with applicable lighting and visibility requirements. The Road Safety Authority provides guidance here.
The RSA also provides general agricultural-vehicle standards here.
These requirements cover agricultural tractors, agricultural trailers and certain types of mounted or towed equipment used on public roads.
Upgrading to Massey Ferguson LED Work Lights
Upgrading to Massey Ferguson LED work lights can provide brighter illumination while drawing less current than conventional halogen lights.
However, the replacement lamps must have:
- The correct operating voltage
- A suitable beam pattern
- Adequate ingress protection
- Strong vibration-resistant mountings
- Weatherproof electrical connectors
- Suitable electromagnetic compatibility
- Appropriate approval where used for road lighting
On newer tractors, lighting circuits may be monitored electronically. A low-current LED lamp can sometimes cause warning messages, flickering or failure detection. Confirm compatibility before altering a monitored road-lighting circuit.
Do not connect multiple additional LED lamps directly to an existing switch. Where required, install an appropriately rated relay, fuse, cable and earth connection.
A Practical Diagnostic Order
When tractor lights are not working, follow this sequence:
- Identify exactly which lights have failed.
- Inspect the bulb or LED lamp.
- Check the fuse and fuse holder.
- Test the lamp earth.
- Confirm voltage at the lamp.
- Test the switch input and output.
- Test the relay and relay socket.
- Inspect the wiring loom.
- Test the trailer socket.
- Connect a known-good trailer or socket tester.
Most Massey Ferguson lighting faults begin at exposed connections, earth points, sockets or damaged sections of wiring rather than inside expensive electronic components.
Testing before buying parts helps avoid unnecessary replacement. Once the cause has been identified, fitting properly rated lamps, switches, relays, connectors and sealed loom repairs should restore dependable operation to the work lights, road lights and trailer electrics.
Would like to speak to a member of our team? Feel free to get in touch on our Contact page.
Browse and Buy replacement Massey Ferguson tractor parts on our online shop.